 An item was added to cart!


PERMANENT LED LIGHTING
EASY FOR ANYONE TO INSTALL FOR YOUR HOME OR BUSINESS
PROUDLY INTRODUCING

Quick Links:
PixelLights Store
Measure & Plan
Do it Yourself Permanent LED Lighting
PixelLights was Designed for Do-It-Yourselfers, Contractors, Handymen, etc., So Easy Anyone Can Do It!
Simple plug-and-play, installs in a third less time, (step-by-step training included)
Complete DIY Starter Kits with everything you need. (Big Savings)
Large selection of pre-drilled channels in many colors and styles
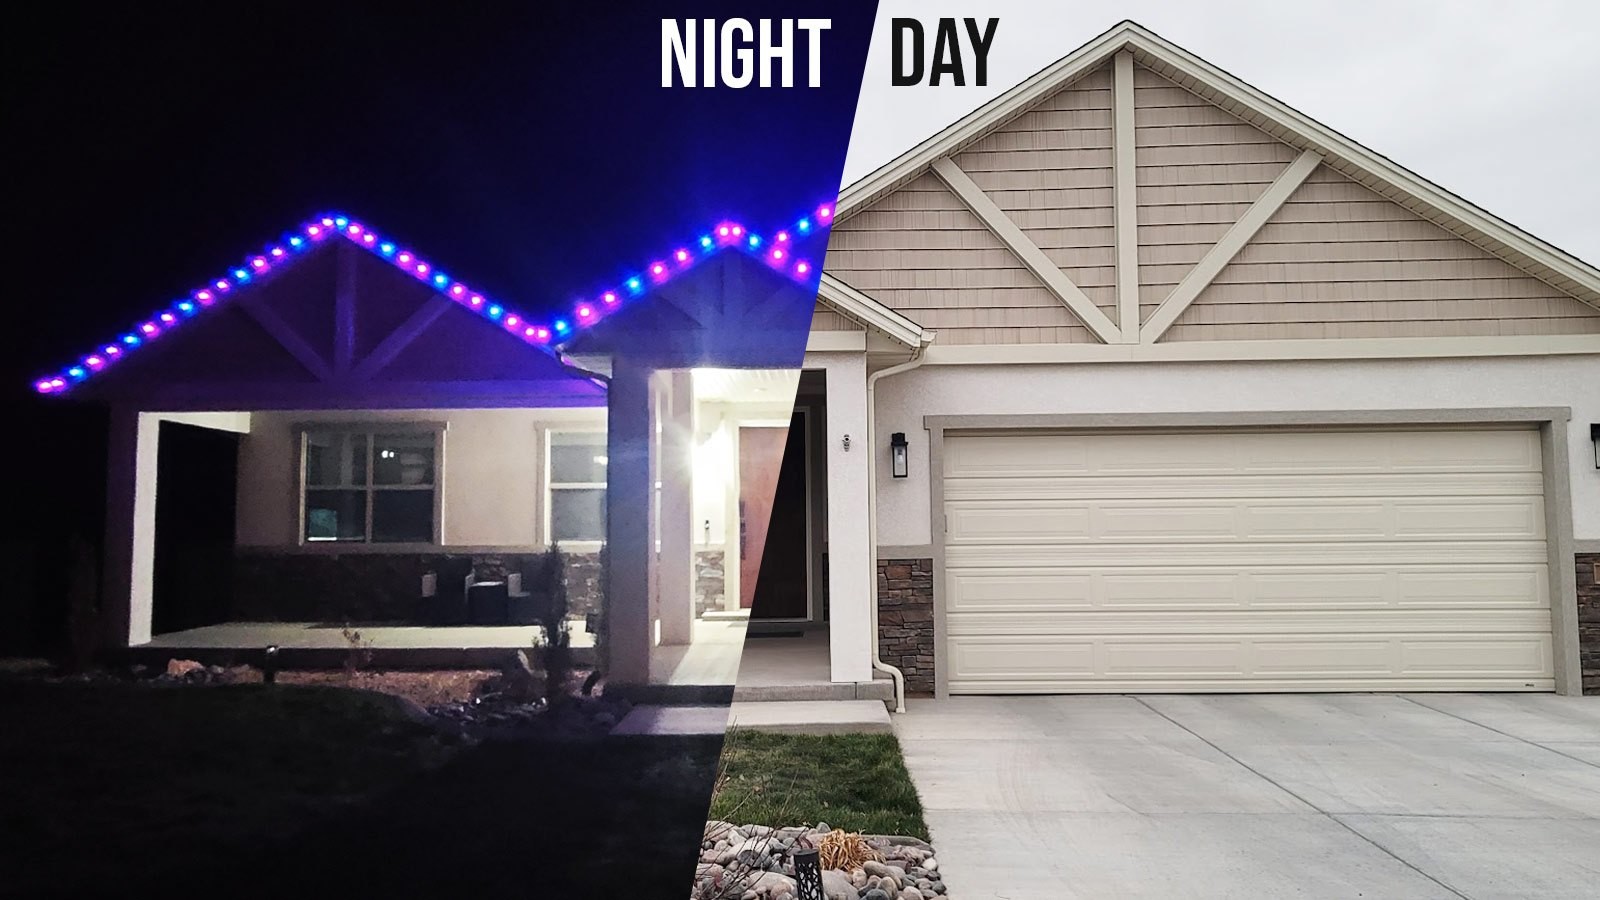
Why PixelLights?
No More Hassle or Worries Putting Up Christmas Lights Again!
PixelLights could have copied the rest, but instead wanted to be the best.
Setting the new standards for what permanent exterior lighting should be.
PixelLights has fewer working components than any other system.
Its powerful 24V controller with two zones can power 400 feet of lighting.
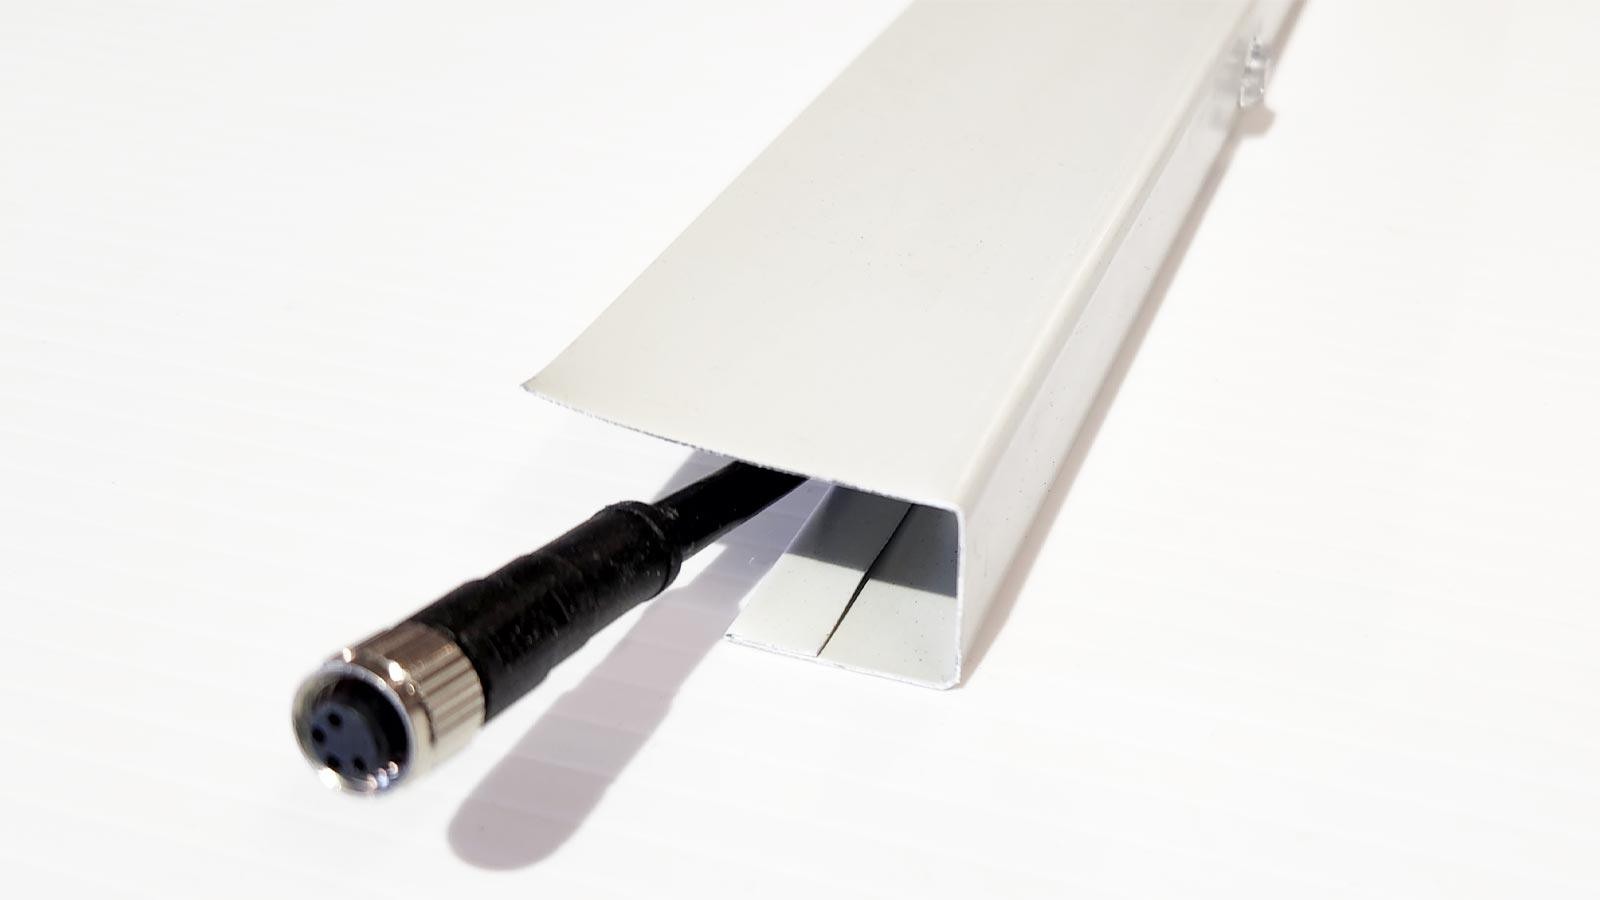
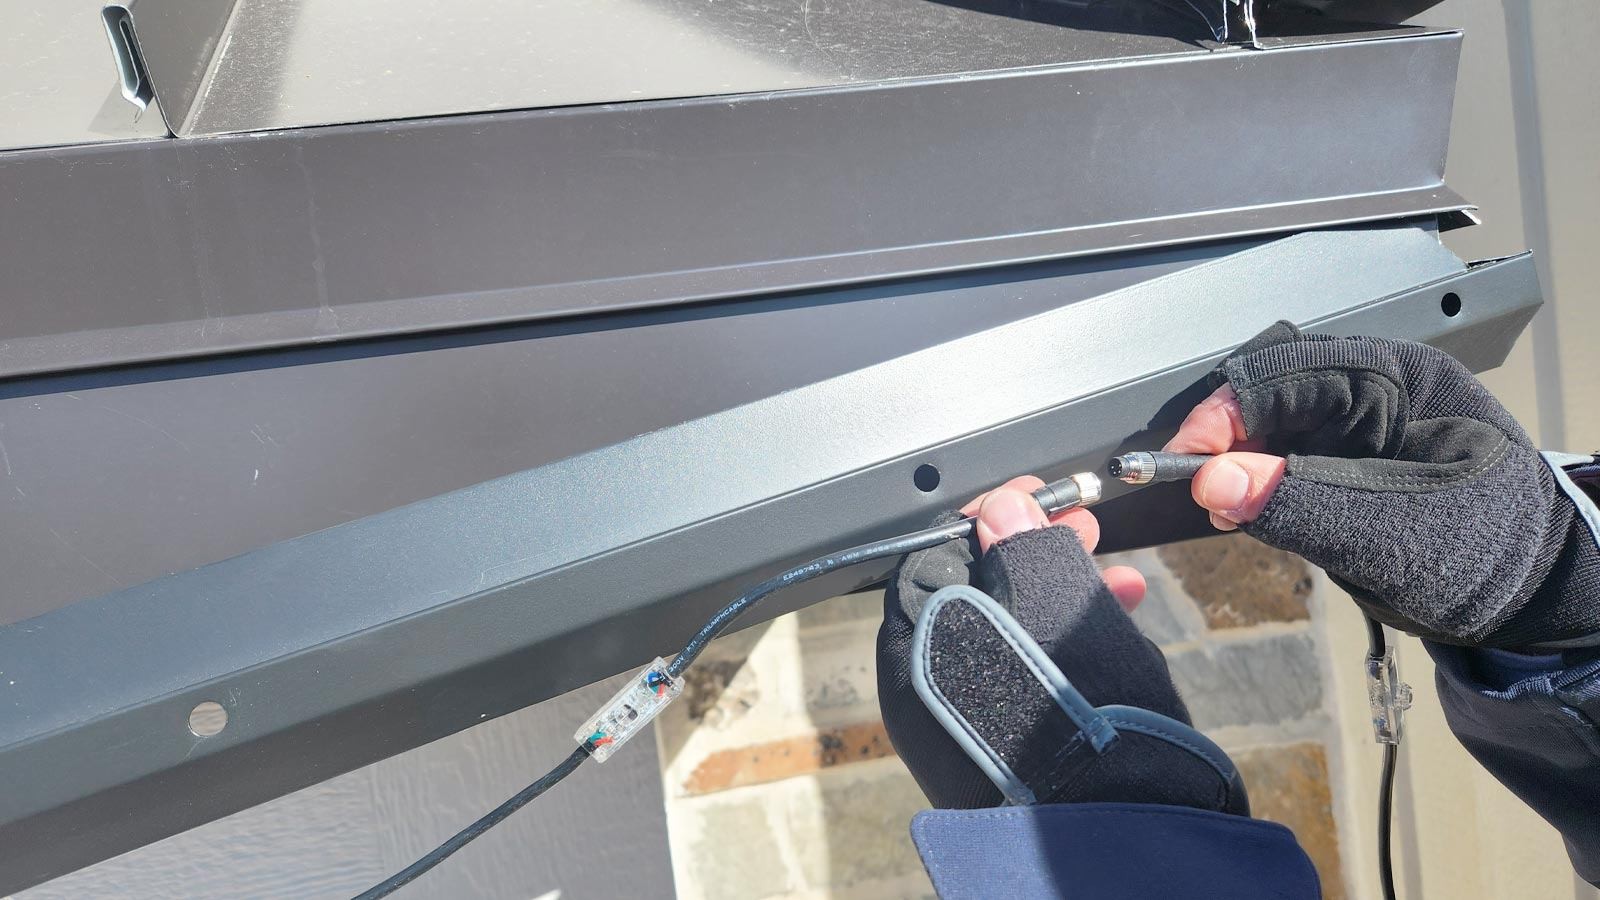
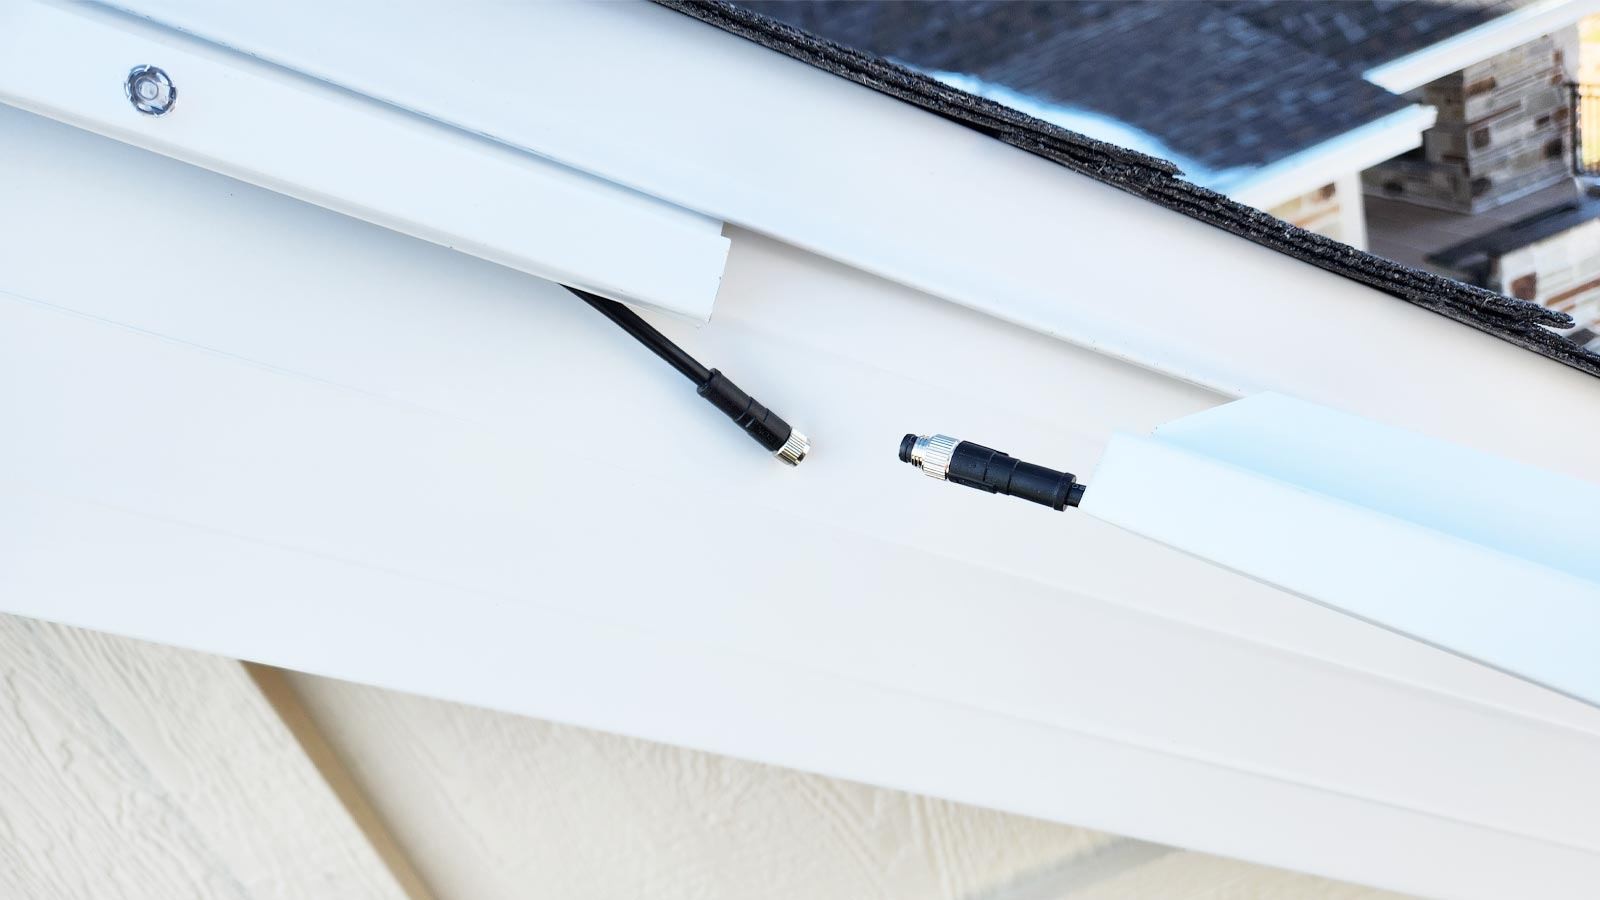
Commercial-grade connectors on UV-protected cables can only be plugged in one way.
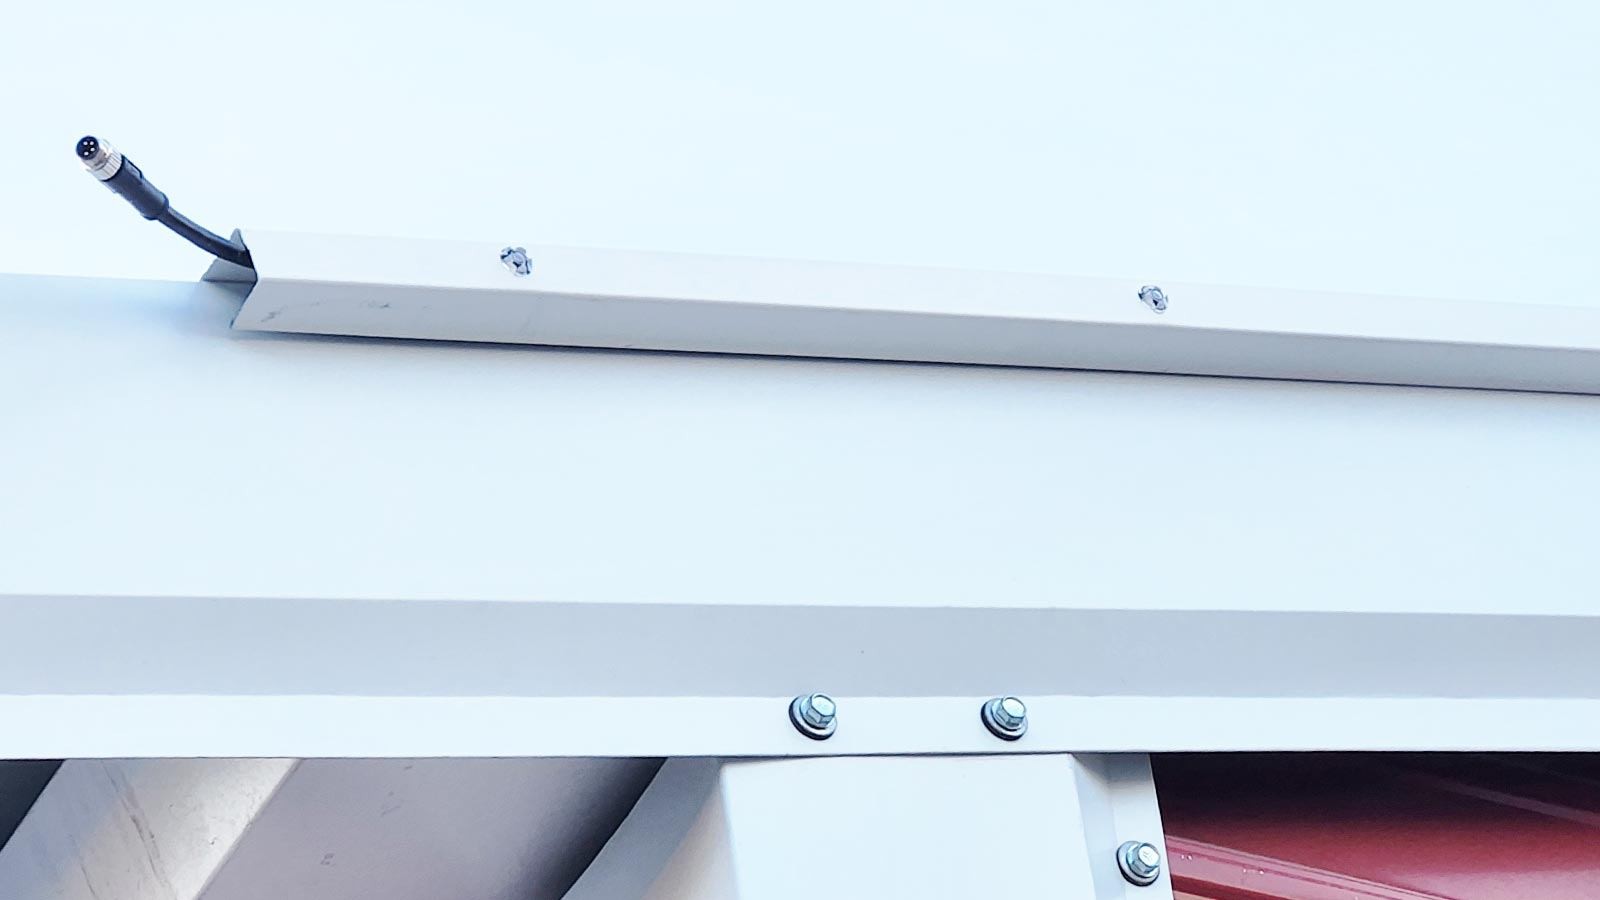
Our custom, pre-drilled channel that holds the lights makes installation simple for anyone.
Control the lights with an app installed on your mobile device or computer.
All this for the best price of any professional permanent holiday lighting system on the market.
Simple Connetions Anyone Can Do It!
PERMANENT LED SHOP
PixelLights Starter Kits
Our exclusive Starter Kits come with everything you need to get started right away and are the most complete packages anywhere, giving you the most bang for your buck. PERIOD!
Sizes Available:
78'ft | 102'ft | 126'ft | 150'ft | 180'ft | 204'ft
Once you've chosen the length and color of the channel for your kit, you can quickly add any other components you need from your material list directly into our pop-out cart.
Starter Kits Include:
- (1) PixelLights Controller (dual 24V output - powers 200ft each - 400ft max)
- PixelLights | 6' ft | RGB 8 Bulb Light Cables (pre-made w/connectors)
- Channel/Track | 6' ft | Pre-drilled & Pre-finished Aluminum Channel (4 colors)
- (1) Termination Cap (required at end of run)
- (1) 10' Unlit Cable (no lights)
- (1) 5' Unlit Cable (no lights)
- (1) 2' Unlit Cable (no lights)
- (1) PixelLights Drill bit
- (1) Bottle channel touch up paint
- (1) Extra Channel - (2) Extra for 180' & 204' kits
- (1) Splitter is included with the 204' Starter Kits Only
+ Assembly Required
6'ft PixelLights LED Light Cables + Channel
Our exclusive Starter Kits ship both 6-foot LED light cables and 6-foot pre-finished aluminum channel sections ready to be assembled together. Simply snap the LED bulbs into the channel holes. Once snapped into place, move on to your next one.
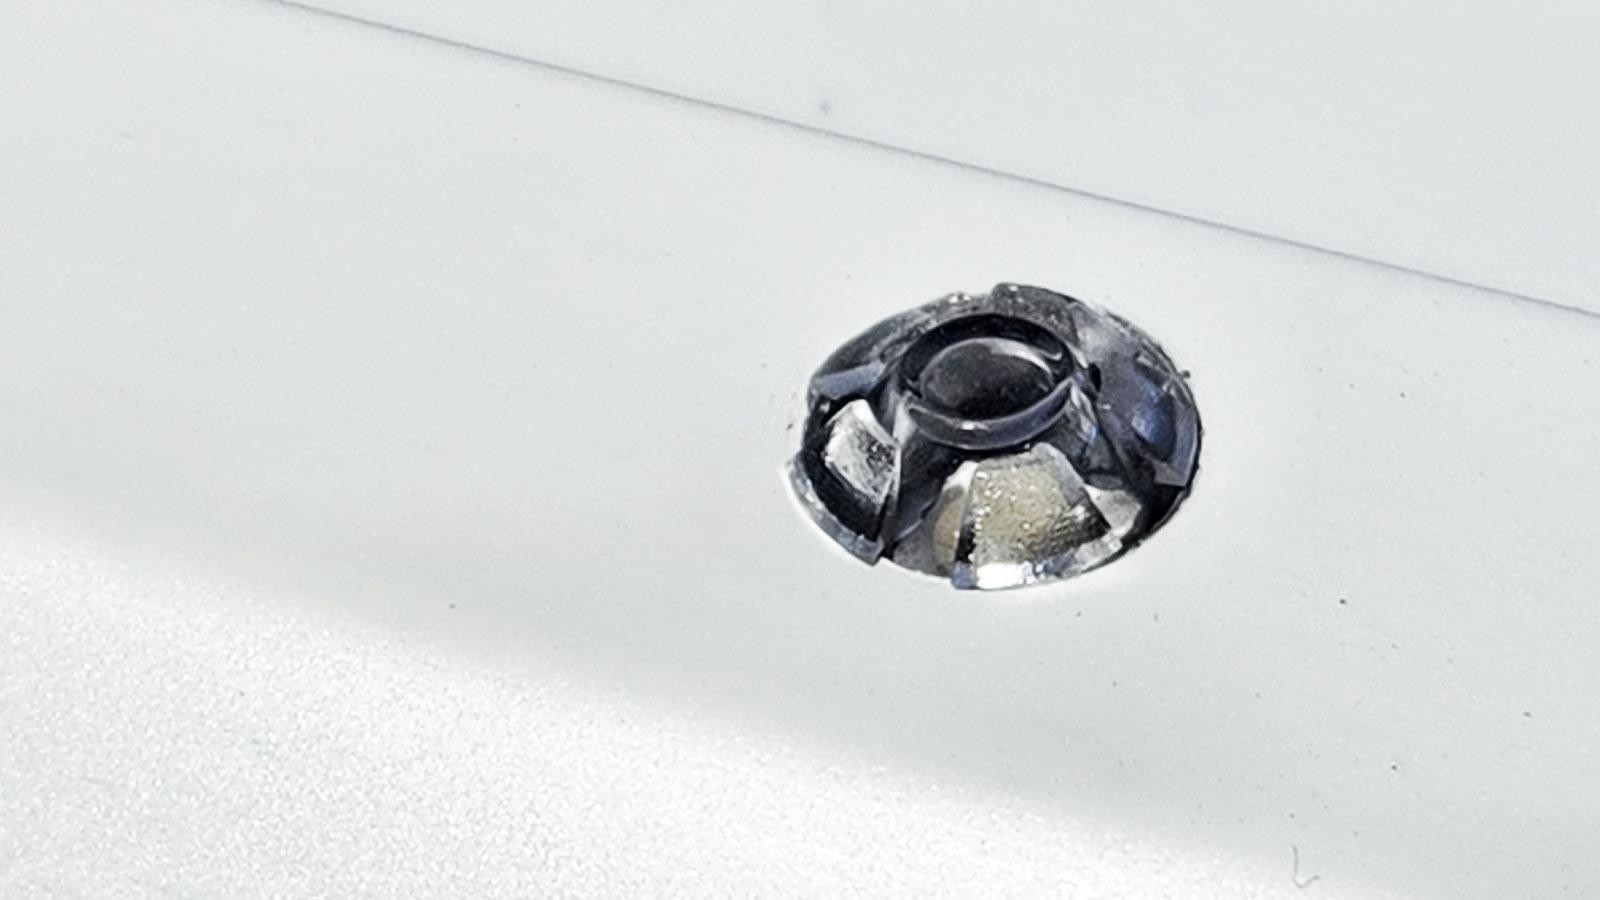
+ Installs Quickly
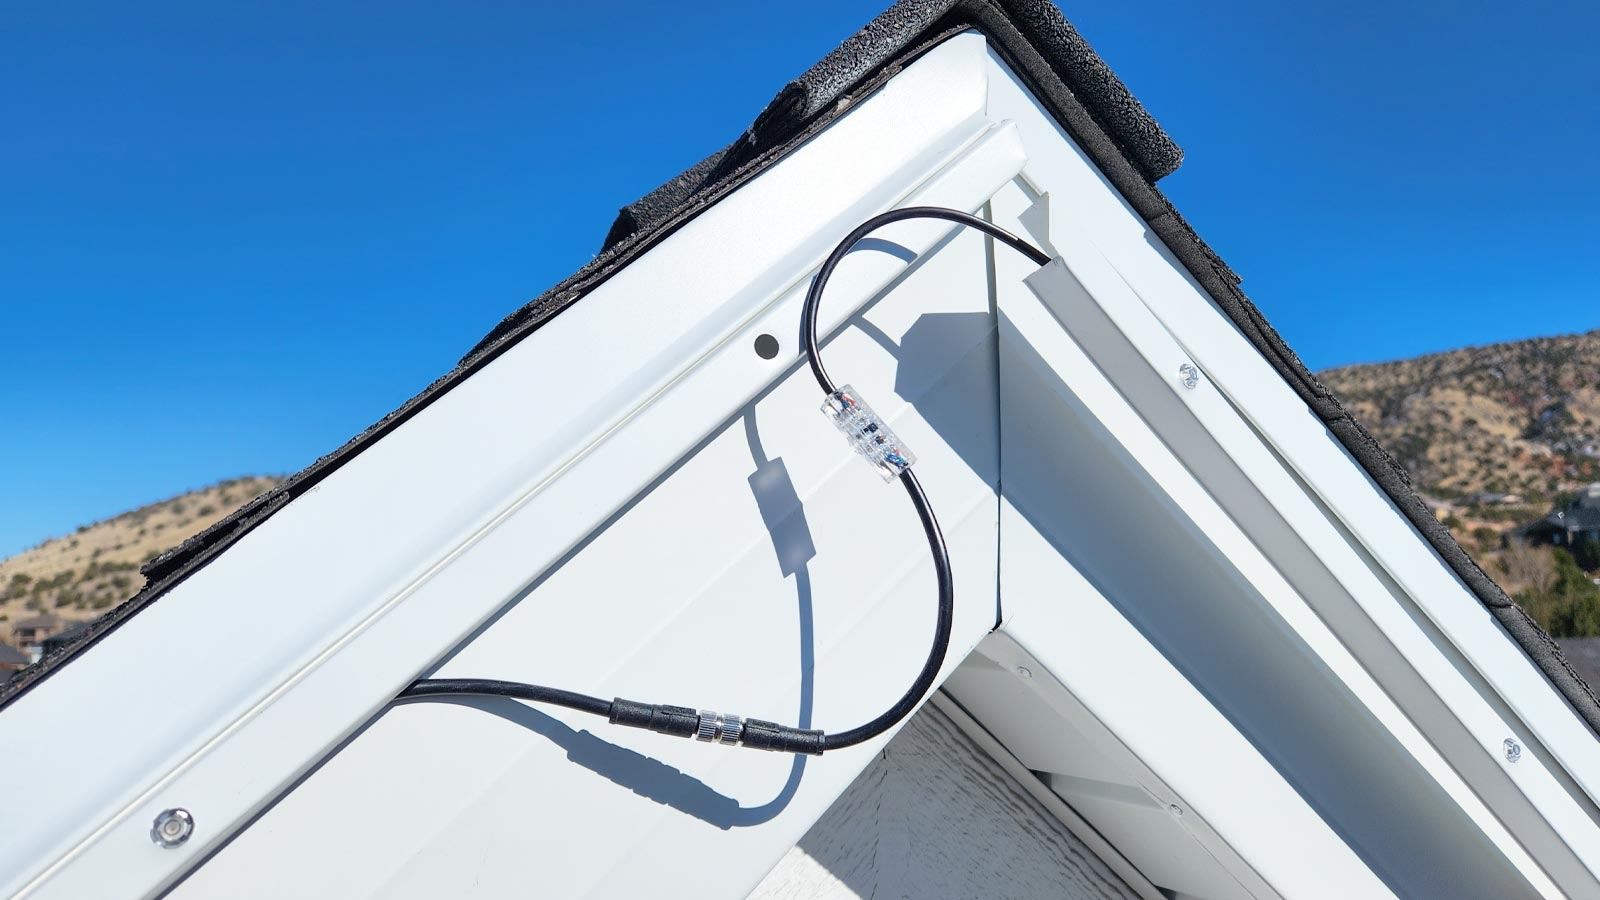
Install onto roofline sections:
Once all the 6-foot channel sections are assembled together. You are now ready to install and secure the channel to the areas you wish to cover.
Download Install Guides
CHANNEL/TRACK
Click Images to view more details about each type
Click here to see available colors

Quick links
Contact Us
We accept
